You learned about the basics Entity and its attributes on the previous page. You will now learn to create a simple JPA project to understand the steps to persist an Entity with JPA/Hibernate. This is a simple example which stores users in the database and retrieves them. You will need Maven, JDK 8, Eclipse or IntelliJ installed in your system to run the applications.
The code explained below is for simplicity. The code shared in the course content is a proper refactored one, this is how you will be expected to write code in the real world scenario.
Steps to persist an Entity using JPA/Hibernate
I will explain here the core part of the project configuration that is needed to persist any Entity using JPA and Hibernate. Check out the exact code in the downloaded course content.
1. Add the hibernate dependency
Add the hibernate-entitymanager dependency in the pom.xml as shown below.
<dependencies>
    ....
    <dependency>
        <groupId>org.hibernate</groupId>
        <artifactId>hibernate-entitymanager</artifactId>
        <version>5.4.4.Final</version>
    </dependency>
2. Add the JDBC driver
I will make use of in-memory h2 database for this course for simplicity. So, let’s add h2 dependency as well in the pom.xml. For production use (MySQL or Oracle db), you need to add the respective jdbc-driver jar.
<dependency>
    <groupId>com.h2database</groupId>
    <artifactId>h2</artifactId>
    <version>1.4.199</version>
</dependency>
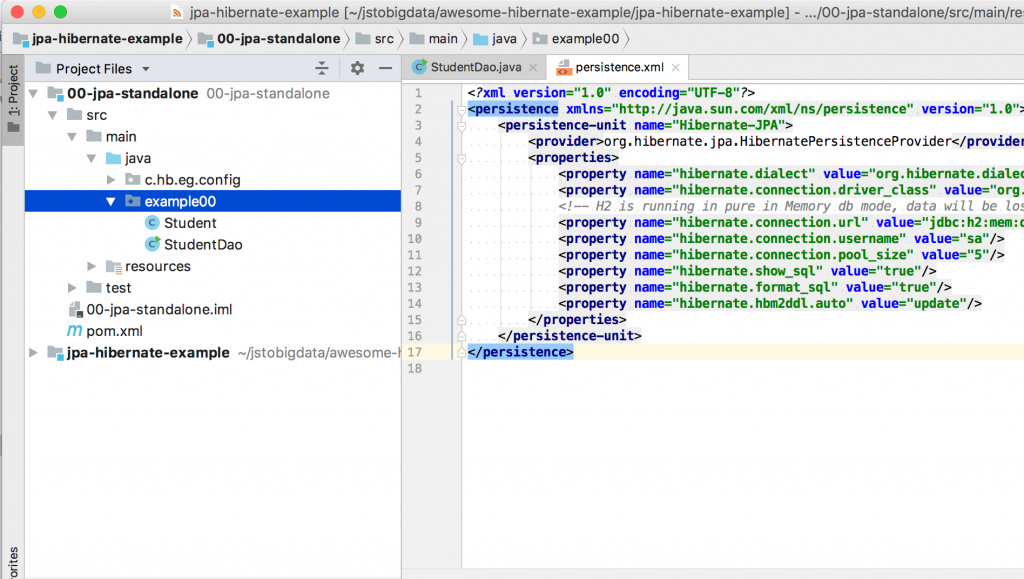
3. Add JPA and database config in META-INF/persistence.xml
Now, you need to specify the database and ORM specific configuration in persistence.xml file. This file should be created in the exact location – src/main/resources/META-INF/persistence.xml.
<?xml version="1.0" encoding="UTF-8"?>
<persistence xmlns="http://java.sun.com/xml/ns/persistence" version="1.0">
    <persistence-unit name="Hibernate-JPA">
        <provider>org.hibernate.jpa.HibernatePersistenceProvider</provider>
        <properties>
            <property name="hibernate.dialect" value="org.hibernate.dialect.H2Dialect"/>
            <property name="hibernate.connection.driver_class" value="org.h2.Driver"/>
            <!-- H2 is running in pure in Memory db mode, data will be lost as soon as connection is closed -->
            <property name="hibernate.connection.url" value="jdbc:h2:mem:db1;DB_CLOSE_DELAY=-1;MVCC=TRUE"/>
            <property name="hibernate.connection.username" value="sa"/>
            <property name="hibernate.connection.pool_size" value="5"/>
            <property name="hibernate.show_sql" value="true"/>
            <property name="hibernate.format_sql" value="true"/>
            <property name="hibernate.hbm2ddl.auto" value="update"/>
        </properties>
    </persistence-unit>
</persistence>
4. Create EntityManagerFactory
Next step is to create javax.persistence.EntityManagerFactory from javax.persistence.Persistence.
NOTE: Hibernate-JPA is from persistence.xml, <persistence-unit name="Hibernate-JPA">.
EntityManagerFactory entityManagerFactory = Persistence.createEntityManagerFactory("Hibernate-JPA");
5. Mapping the Entity class
Annotate the class with @Entity that you want to persist as shown below. In this case, Student class is having@Entity. Make sure you import the annotations from javax.persistence.*.
import javax.persistence.Entity;
import javax.persistence.GeneratedValue;
import javax.persistence.Id;
import javax.persistence.Table;

@Entity
@Table(name = "students") //name of the db-table
public class Student {

    @Id
    @GeneratedValue
    private Long id;

    private String email;

    //Must have empty constructor
    public Student() {
    }
    //Getter/setter, toString() etc
}
6. Use EntityManager to perform CRUD on Entity
Now, let us design the Dao. As I mentioned before, ideally JPA code should only be present in the DAO layer. Not recommended to use in the higher layers.
The CRUD operation on the Entities will be performed now with the help of EntityManager.
NOTE: EntityManager is not thread safe, make sure you follow the pattern as below. Create a new EntityManager from the EntityManagerFactory and close it in the end.
public class StudentDao {
    private EntityManagerFactory entityManagerFactory = JPAUtil.getEntityManagerFactory();

    public Long save(Student student) {
        EntityManager entityManager = null;
        Long id = null;
        try {
            entityManager = this.entityManagerFactory.createEntityManager();
            EntityTransaction tx = entityManager.getTransaction();
            tx.begin();
            entityManager.persist(student);
            id = student.getId();
            tx.commit();
        } finally {
            entityManager.close();
        }
        return id;
    }
...
7. Test the code
Write a JUnit test case or a simple public static void main method to test the functionalities.
...
 /* Test Object Creation */
    public static void main(String[] args) {
        try {
            Student student = new Student("[email protected]");
            StudentDao studentDao = new StudentDao();
            Long id = studentDao.save(student);
            System.out.println("Student created with id: " + id);
            student = studentDao.find(id);
            System.out.println("\n\n" + student);
        } catch (Exception e) {
            e.printStackTrace();
        }
    }
}
The code example
This example can be located in the /awesome-hibernate-example/jpa-hibernate-example/00-jpa-standalone/src/main/java/example00.
Spend some time understanding the basic steps discussed above in this simple JPA project.