In this article, you will learn to set up a RabbitMQ server for the development purpose using docker-compose. We will download the official rabbitmq docker image, run it.
Prerequisites
- Docker, minimum installed version –
2.0. - Docker-compose, minimum installed version –
1.23.
Installation of RabbitMQ – docker-compose
Step-1) Make sure you have the docker installed in your system by running the below commands.
$ docker -v
Docker version 19.03.5, build 633a0ea

$ docker-compose -v
docker-compose version 1.24.1, build 4667896b
Step-2) Create a docker-compose.yaml file with the below content.
version: "3.6"
# https://docs.docker.com/compose/compose-file/

services:
  rabbitmq:
    image: 'rabbitmq:3.6-management-alpine'
    ports:
      # The standard AMQP protocol port
      - '5672:5672'
      # HTTP management UI
      - '15672:15672'
    environment:
      # The location of the RabbitMQ server.  "amqp" is the protocol;
      # "rabbitmq" is the hostname.  Note that there is not a guarantee
      # that the server will start first!  Telling the pika client library
      # to try multiple times gets around this ordering issue.
      AMQP_URL: 'amqp://rabbitmq?connection_attempts=5&retry_delay=5'
      RABBITMQ_DEFAULT_USER: "guest"
      RABBITMQ_DEFAULT_PASS: "guest"
    networks:
      - network
networks:
  # Declare our private network.  We must declare one for the magic
  # Docker DNS to work, but otherwise its default settings are fine.
  network: {}
Step-3)
Run the docker-compose up command in a terminal, wait for the command to complete its execution. This will download the specified rabbitmq docker image, run the rabbitmq-admin UI on #15672 and the Server listens on #5672 for messaging. Once the server is up, you will see a similar log in your terminal.
rabbitmq_1  | =INFO REPORT==== 10-Mar-2020::16:11:17 ===
rabbitmq_1  | started TCP Listener on [::]:5672
rabbitmq_1  |
rabbitmq_1  | =INFO REPORT==== 10-Mar-2020::16:11:17 ===
rabbitmq_1  | Management plugin started. Port: 15672
rabbitmq_1  |
rabbitmq_1  | =INFO REPORT==== 10-Mar-2020::16:11:17 ===
rabbitmq_1  | Statistics database started.
rabbitmq_1  |  completed with 6 plugins.
rabbitmq_1  |
rabbitmq_1  | =INFO REPORT==== 10-Mar-2020::16:11:18 ===
rabbitmq_1  | Server startup complete; 6 plugins started.
rabbitmq_1  |  * rabbitmq_management
rabbitmq_1  |  * rabbitmq_web_dispatch
rabbitmq_1  |  * cowboy
rabbitmq_1  |  * rabbitmq_management_agent
rabbitmq_1  |  * amqp_client
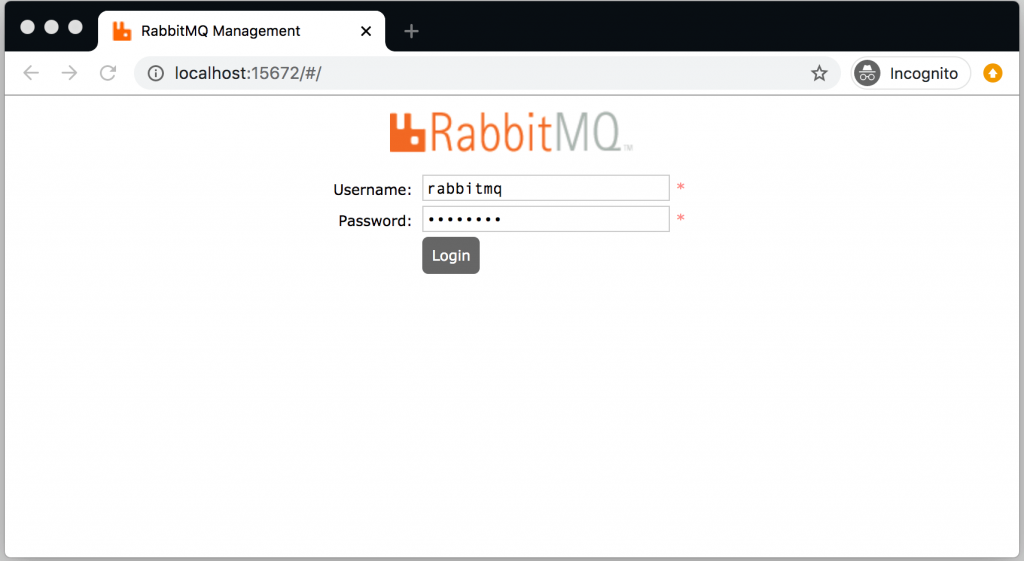
Step-4) Login
Navigate to http://localhost:15672 in your browser and log in to the management dashboard with guest as both username and password. You should be able to see the RabbitMQ admin management dashboard as shown below. I have overridden the username and password as rabbitmq by changing the properties RABBITMQ_DEFAULT_USER and RABBITMQ_DEFAULT_PASS in the above docker-compose.yml file. You can just keep the username and password unchanged.
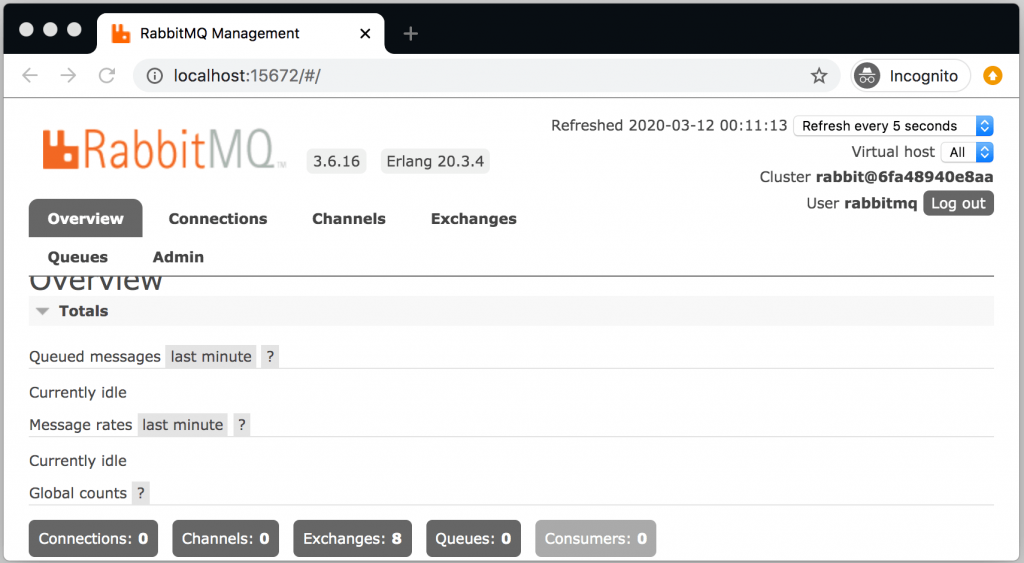
If you are able to see the above UI, it means the installation is successful. I will add the installation guides on Windows, Mac, and Linux a little later.